- Home
-
My Models
-
AV History
- Airline History Blog
-
Airline Development
>
-
Liveries
>
- Aeroméxico Liveries
- Air China Special Liveries
- American Airlines Liveries
- British Airways Liveries
- Continental Airlines Liveries
- Delta Air Lines Liveries
- Eastern Air Lines Liveries
- Landor Liveries
- National Airlines Liveries
- Northeast Airlines Liveries
- Northwest Airlines Liveries
- Pan Am Liveries
- Trans World Airlines Liveries
- United Airlines Liveries
- Western Airlines Liveries
- Airbus A380s >
- Boeing 747 >
- Real Airport Histories >
- Plane Spotting >
- Aviation Stickers >
-
1:400 SCALE
- Collecting 1:400 Scale >
- The History of 1:400 Scale >
-
1:400 Brands
>
- Aeroclassics >
- Airshop Diecast
- AURORA Models
- Aviation400 (2007-2012)
- Big Bird 400 Your Craftsman
- Black Box Models
- Blue Box & Magic Models
- C Models
- Dragon Wings
- El Aviador 400
- Gemini Jets >
- JAL Collection / Jet Hut >
- Jet-X >
- MP4 Models
- NG Models >
- Panda Models >
- Phoenix Models >
- Seattle Models Co (SMA)
- Skyjets400
- Sovereign Models
- TucanoLine
- Witty Wings / Apollo
- Yu ModeLs
- 1:400 Custom Models >
- Production Numbers
- Zinc Rot
-
1:400 Moulds
- The Best Moulds >
- Airbus >
-
Boeing
>
- Boeing B-377 Stratocruiser
- Short Boeing 707s & 720s
- Boeing 707-320/420
- Boeing 717
- Boeing 727-100
- Boeing 727-200
- Boeing 737-100/200
- Boeing 737-300 >
- Boeing 737-400
- Boeing 737-500
- Boeing 737-600
- Boeing 737-700/800/900 >
- Boeing 737 MAX
- Boeing 747-100/200 >
- Boeing 747-400 >
- Boeing 747SP
- Boeing 747-8 Interactive
- Boeing 747LCF Dreamlifter
- Boeing 757-200 >
- Boeing 757-300
- Boeing 767-200
- Boeing 767-300
- Boeing 777-200
- Boeing 777-300
- Boeing 787
- British >
- Douglas >
- Lockheed >
- Other >
- Chinese >
- Soviet >
- Smallest Moulds in 1:400
-
1:400 Reviews
-
Model News
- Model Blog
-
New Mould Samples
>
- Aviation400 >
- JC Wings >
-
NG Models 400 Scale
>
- Airbus A318
- Airbus A319/320 CEO
- Airbus A319/320 NEO
- Airbus A321CEO & NEO
- Airbus A330-200/300
- Airbus A330 Beluga XL
- Airbus A330-800/900
- Airbus A340-200/300
- Airbus A350-900
- Airbus A350-1000
- Boeing 737-600/700/900
- Boeing 737-600 Refresh
- Boeing 737-800
- Boeing 737 MAX-8/MAX-9
- Boeing 737 MAX-7/MAX-10
- Boeing 747-100
- Boeing 747-200
- Boeing 747-400
- Boeing B747SP
- Boeing 747-8I
- Boeing 747-8F
- NG 747s Together
- Boeing 757-300
- Boeing 767-200/300 >
- Boeing 767-400 >
- Boeing 777-200
- Boeing 777-300/300ER
- Boeing 787-8
- Lockheed L-1011 Tristar
- Lockeed Tristar 500
- McDonnell Douglas MD-80
- McDonnell Douglas MD-87
- Tupolev Tu-154
- Tupolev Tu-204/Tu-214/Tu-234
- NG Models 200 Scale >
- Phoenix Models >
- Yu ModeL >
-
1:600 SCALE
- DIORAMAS
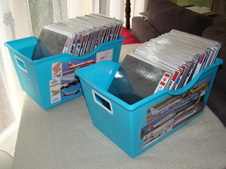
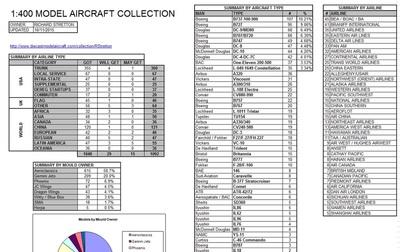
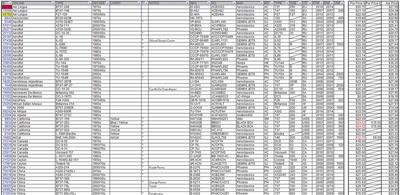
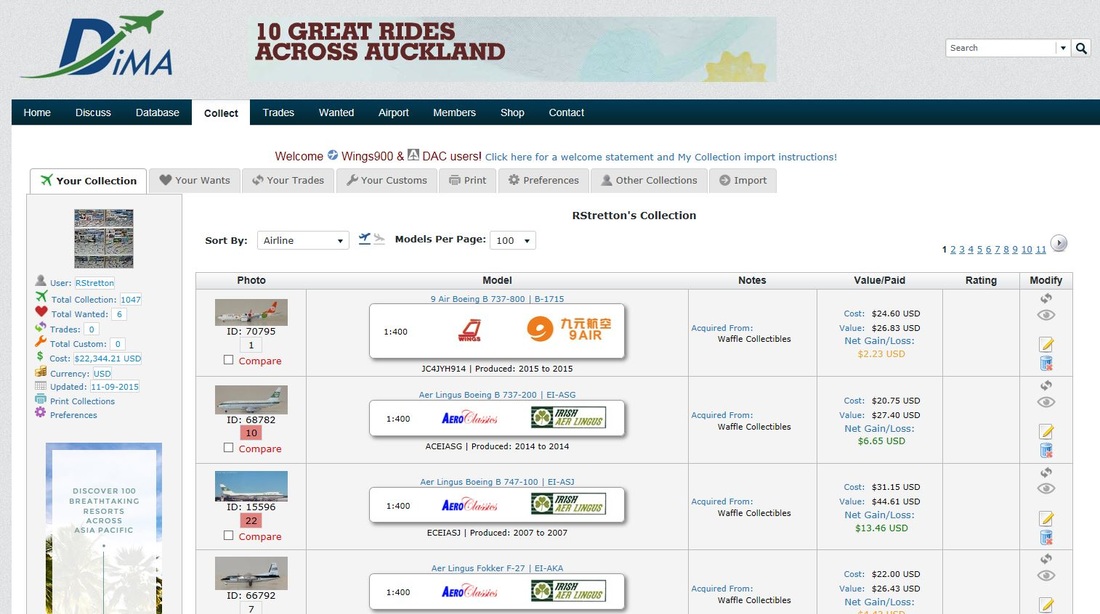
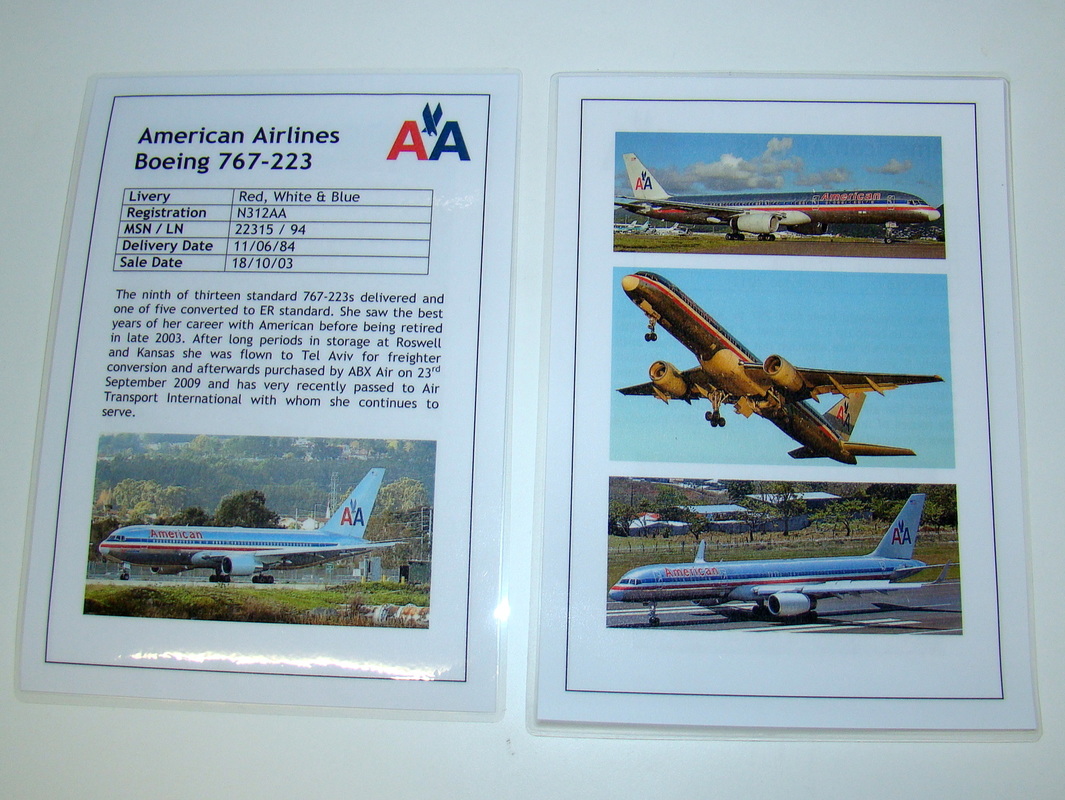
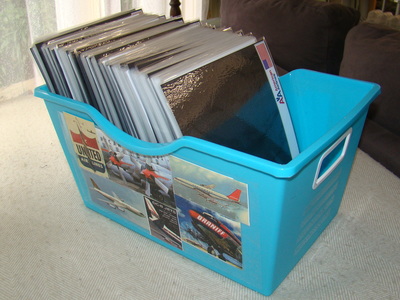
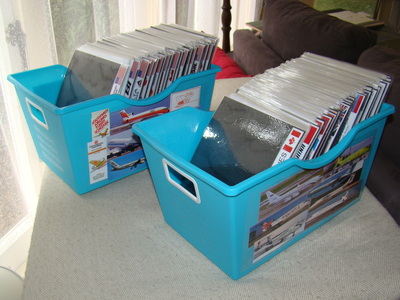
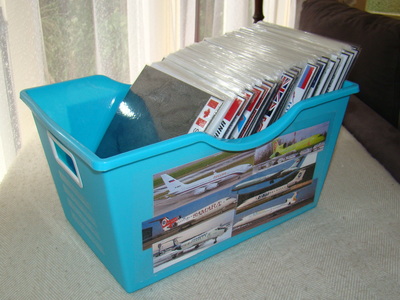
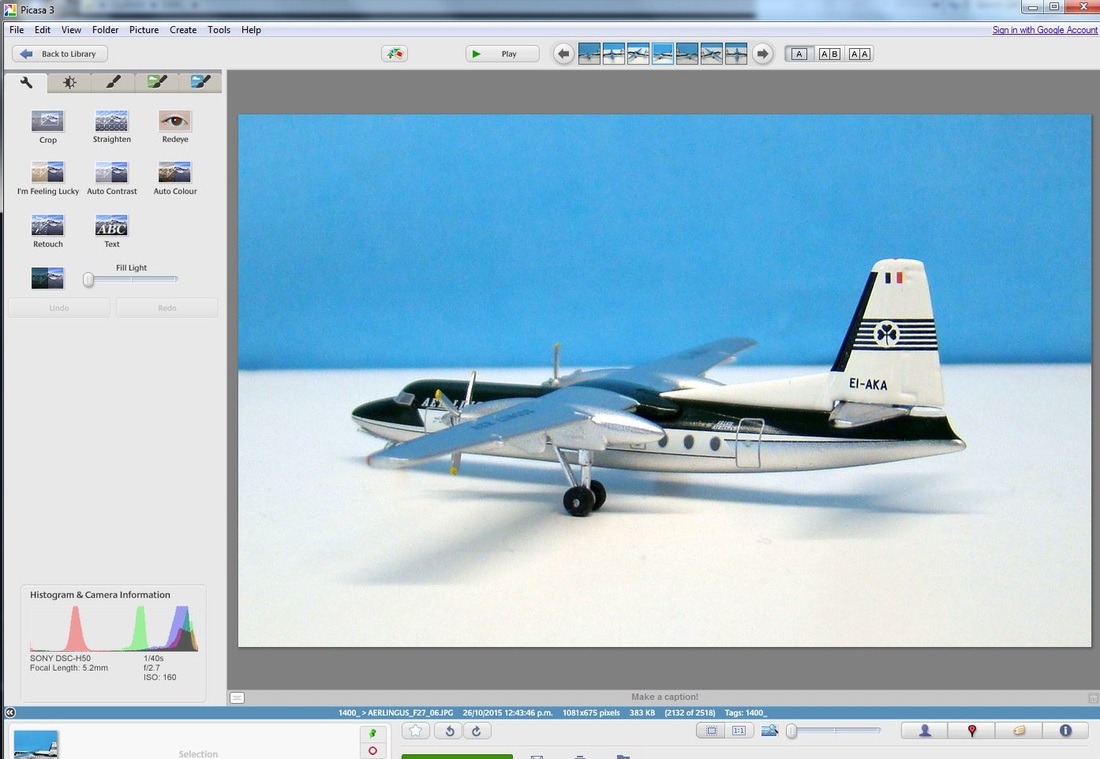
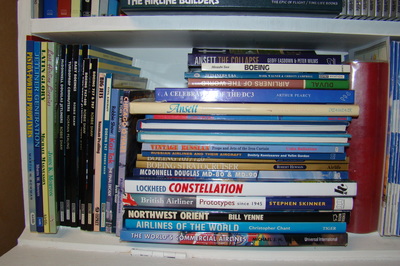
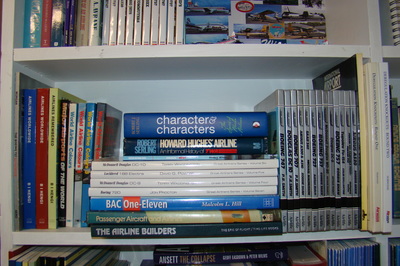
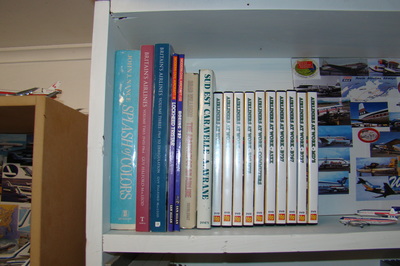
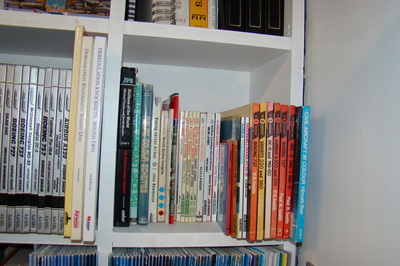
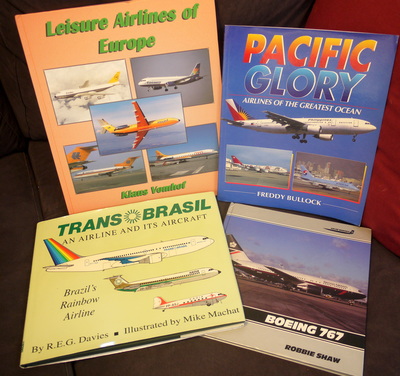
Step 1 when I receive a model is to add it into my uber list of models. If you don't have a list of your collection - shame on you, call yourself a collector?? My list is in Excel format and has grown rather over the years. It has multiple tabs and helps me keep an eye on not just what I have but also organise my wishlist and see some numbers about how much is in my collection. Here's a couple of shots - of the front page and of the main model list tab. By collecting some simple metadata you can get some decent stats into tables and graphs automatically: Step 2 is to add the same model details to DiMA's collection database. Why do I keep the same info in two places - well DiMA offers a more pictorial view and allows me to compare my model fleet to that of others plus see the popularity of models and average prices. Step 3 is to start on the model history. This is a 2 sided A5 page done in Word to a standard templated format. I record the airline logo (typically can be acquired from a Google image search), the frame details including the start and end date in service with the airline plus a short text history. The history typically covers the story of the type with the airline and the frame's actual operator history. Then I fill it up with images of the actual aircraft in operation throughout its career. Checkout my links page for a list of resources which can help with this kind of data. Step 4 is to print the model history, laminate it and add it to the box of model histories. I'm an old fashioned guy and its nice to have a physical copy of the information. I've recently acquired several plastic storage boxes to keep the histories in and I have created a history of each of the over 1000 models in my collection. You'll notice that I've also created laminated dividers for the major airline and continental groupings: Step 5 is to photograph the actual model. I do this down in my airport room using a foldable table, white laminate shelf section and blue cardboard back section. There's no tripod or fancy stuff - just a standard digital camera with the macro function on and flash. I take about ten shots of each model from different angles. Step 6 is to download the photos to the PC and use Picasa to crop each one and modify the lighting and contrast settings to improve the photo quality. Step 7. Only after all these steps is a model ready for the start of a blog history post on the site. Usually writing the A5 history gives me a feel for the aircraft and an angle for a post. After that its down to researching online and in my aviation library of books and magazines for the details. Each blog post probably takes an hour to two hours to write without taking into account all the earlier steps. The whole thing can be quite time intensive but I enjoy it and I hope you enjoy reading the posts on my site too. There's really very little skill to it all and anyone can be as nerdy as me if they feel the need - few do! Below: This is about a third of my library on civil aviation. I also have all issues of Airplane magazine plus most of the run of Airliners and World Airline Fleet News, lots of Airliner Worlds and a load more books.
0 Comments
Leave a Reply. |
AuthorI'm Richard Stretton: a fan of classic airliners and airlines who enjoys exploring their history through my collection of die-cast airliners. If you enjoy the site please donate whatever you can to help keep it running: Archives
July 2024
Categories
All
|
- Home
-
My Models
-
AV History
- Airline History Blog
-
Airline Development
>
-
Liveries
>
- Aeroméxico Liveries
- Air China Special Liveries
- American Airlines Liveries
- British Airways Liveries
- Continental Airlines Liveries
- Delta Air Lines Liveries
- Eastern Air Lines Liveries
- Landor Liveries
- National Airlines Liveries
- Northeast Airlines Liveries
- Northwest Airlines Liveries
- Pan Am Liveries
- Trans World Airlines Liveries
- United Airlines Liveries
- Western Airlines Liveries
- Airbus A380s >
- Boeing 747 >
- Real Airport Histories >
- Plane Spotting >
- Aviation Stickers >
-
1:400 SCALE
- Collecting 1:400 Scale >
- The History of 1:400 Scale >
-
1:400 Brands
>
- Aeroclassics >
- Airshop Diecast
- AURORA Models
- Aviation400 (2007-2012)
- Big Bird 400 Your Craftsman
- Black Box Models
- Blue Box & Magic Models
- C Models
- Dragon Wings
- El Aviador 400
- Gemini Jets >
- JAL Collection / Jet Hut >
- Jet-X >
- MP4 Models
- NG Models >
- Panda Models >
- Phoenix Models >
- Seattle Models Co (SMA)
- Skyjets400
- Sovereign Models
- TucanoLine
- Witty Wings / Apollo
- Yu ModeLs
- 1:400 Custom Models >
- Production Numbers
- Zinc Rot
-
1:400 Moulds
- The Best Moulds >
- Airbus >
-
Boeing
>
- Boeing B-377 Stratocruiser
- Short Boeing 707s & 720s
- Boeing 707-320/420
- Boeing 717
- Boeing 727-100
- Boeing 727-200
- Boeing 737-100/200
- Boeing 737-300 >
- Boeing 737-400
- Boeing 737-500
- Boeing 737-600
- Boeing 737-700/800/900 >
- Boeing 737 MAX
- Boeing 747-100/200 >
- Boeing 747-400 >
- Boeing 747SP
- Boeing 747-8 Interactive
- Boeing 747LCF Dreamlifter
- Boeing 757-200 >
- Boeing 757-300
- Boeing 767-200
- Boeing 767-300
- Boeing 777-200
- Boeing 777-300
- Boeing 787
- British >
- Douglas >
- Lockheed >
- Other >
- Chinese >
- Soviet >
- Smallest Moulds in 1:400
-
1:400 Reviews
-
Model News
- Model Blog
-
New Mould Samples
>
- Aviation400 >
- JC Wings >
-
NG Models 400 Scale
>
- Airbus A318
- Airbus A319/320 CEO
- Airbus A319/320 NEO
- Airbus A321CEO & NEO
- Airbus A330-200/300
- Airbus A330 Beluga XL
- Airbus A330-800/900
- Airbus A340-200/300
- Airbus A350-900
- Airbus A350-1000
- Boeing 737-600/700/900
- Boeing 737-600 Refresh
- Boeing 737-800
- Boeing 737 MAX-8/MAX-9
- Boeing 737 MAX-7/MAX-10
- Boeing 747-100
- Boeing 747-200
- Boeing 747-400
- Boeing B747SP
- Boeing 747-8I
- Boeing 747-8F
- NG 747s Together
- Boeing 757-300
- Boeing 767-200/300 >
- Boeing 767-400 >
- Boeing 777-200
- Boeing 777-300/300ER
- Boeing 787-8
- Lockheed L-1011 Tristar
- Lockeed Tristar 500
- McDonnell Douglas MD-80
- McDonnell Douglas MD-87
- Tupolev Tu-154
- Tupolev Tu-204/Tu-214/Tu-234
- NG Models 200 Scale >
- Phoenix Models >
- Yu ModeL >
-
1:600 SCALE
- DIORAMAS

 RSS Feed