- Home
-
My Models
-
AV History
- Airline History Blog
-
Airline Development
>
-
Liveries
>
- Aeroméxico Liveries
- Air China Special Liveries
- American Airlines Liveries
- British Airways Liveries
- Continental Airlines Liveries
- Delta Air Lines Liveries
- Eastern Air Lines Liveries
- Landor Liveries
- National Airlines Liveries
- Northeast Airlines Liveries
- Northwest Airlines Liveries
- Pan Am Liveries
- Trans World Airlines Liveries
- United Airlines Liveries
- Western Airlines Liveries
- Airbus A380s >
- Boeing 747 >
- Real Airport Histories >
- Plane Spotting >
- Aviation Stickers >
-
1:400 SCALE
- Collecting 1:400 Scale >
- The History of 1:400 Scale >
-
1:400 Brands
>
- Aeroclassics >
- Airshop Diecast
- AURORA Models
- Aviation400 (2007-2012)
- Big Bird 400 Your Craftsman
- Black Box Models
- Blue Box & Magic Models
- C Models
- Dragon Wings
- El Aviador 400
- Gemini Jets >
- JAL Collection / Jet Hut >
- Jet-X >
- MP4 Models
- NG Models >
- Panda Models >
- Phoenix Models >
- Seattle Models Co (SMA)
- Skyjets400
- Sovereign Models
- TucanoLine
- Witty Wings / Apollo
- Yu ModeLs
- 1:400 Custom Models >
- Production Numbers
- Zinc Rot
-
1:400 Moulds
- The Best Moulds >
- Airbus >
-
Boeing
>
- Boeing B-377 Stratocruiser
- Short Boeing 707s & 720s
- Boeing 707-320/420
- Boeing 717
- Boeing 727-100
- Boeing 727-200
- Boeing 737-100/200
- Boeing 737-300 >
- Boeing 737-400
- Boeing 737-500
- Boeing 737-600
- Boeing 737-700/800/900 >
- Boeing 737 MAX
- Boeing 747-100/200 >
- Boeing 747-400 >
- Boeing 747SP
- Boeing 747-8 Interactive
- Boeing 747LCF Dreamlifter
- Boeing 757-200 >
- Boeing 757-300
- Boeing 767-200
- Boeing 767-300
- Boeing 777-200
- Boeing 777-300
- Boeing 787
- British >
- Douglas >
- Lockheed >
- Other >
- Chinese >
- Soviet >
- Smallest Moulds in 1:400
-
1:400 Reviews
-
Model News
- Model Blog
-
New Mould Samples
>
- Aviation400 >
- JC Wings >
-
NG Models 400 Scale
>
- Airbus A318
- Airbus A319/320 CEO
- Airbus A319/320 NEO
- Airbus A321CEO & NEO
- Airbus A330-200/300
- Airbus A330 Beluga XL
- Airbus A330-800/900
- Airbus A340-200/300
- Airbus A350-900
- Airbus A350-1000
- Boeing 737-600/700/900
- Boeing 737-600 Refresh
- Boeing 737-800
- Boeing 737 MAX-8/MAX-9
- Boeing 737 MAX-7/MAX-10
- Boeing 747-100
- Boeing 747-200
- Boeing 747-400
- Boeing B747SP
- Boeing 747-8I
- Boeing 747-8F
- NG 747s Together
- Boeing 757-300
- Boeing 767-200/300 >
- Boeing 767-400 >
- Boeing 777-200
- Boeing 777-300/300ER
- Boeing 787-8
- Lockheed L-1011 Tristar
- Lockeed Tristar 500
- McDonnell Douglas MD-80
- McDonnell Douglas MD-87
- Tupolev Tu-154
- Tupolev Tu-204/Tu-214/Tu-234
- NG Models 200 Scale >
- Phoenix Models >
- Yu ModeL >
-
1:600 SCALE
- DIORAMAS
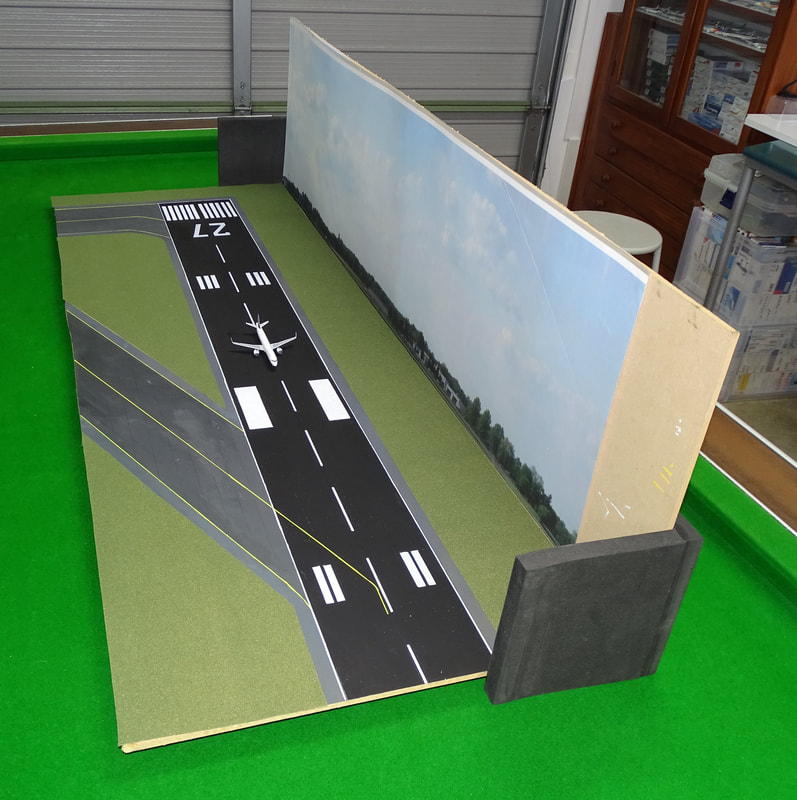
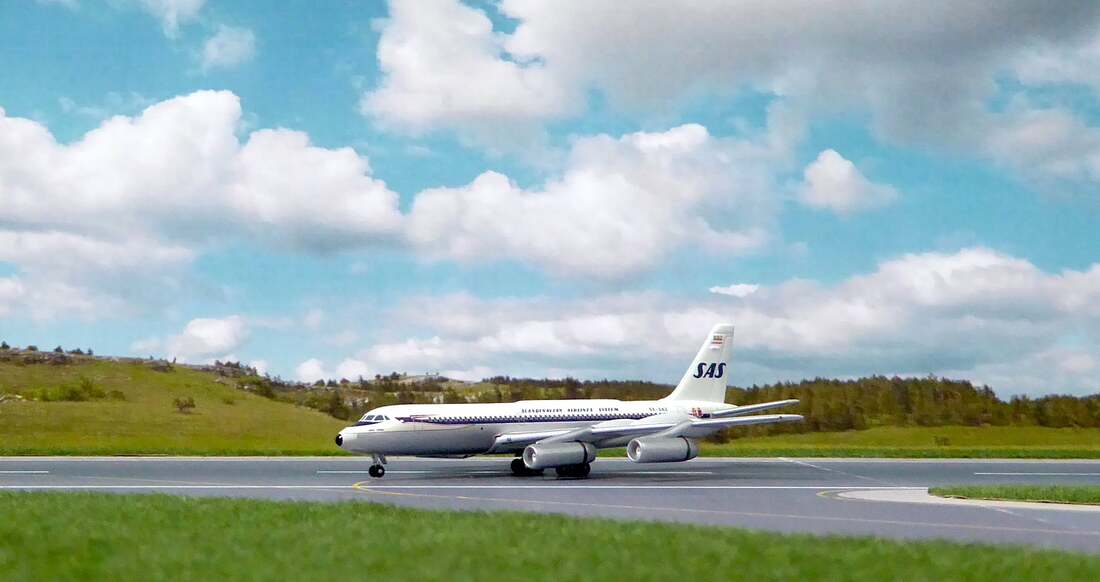
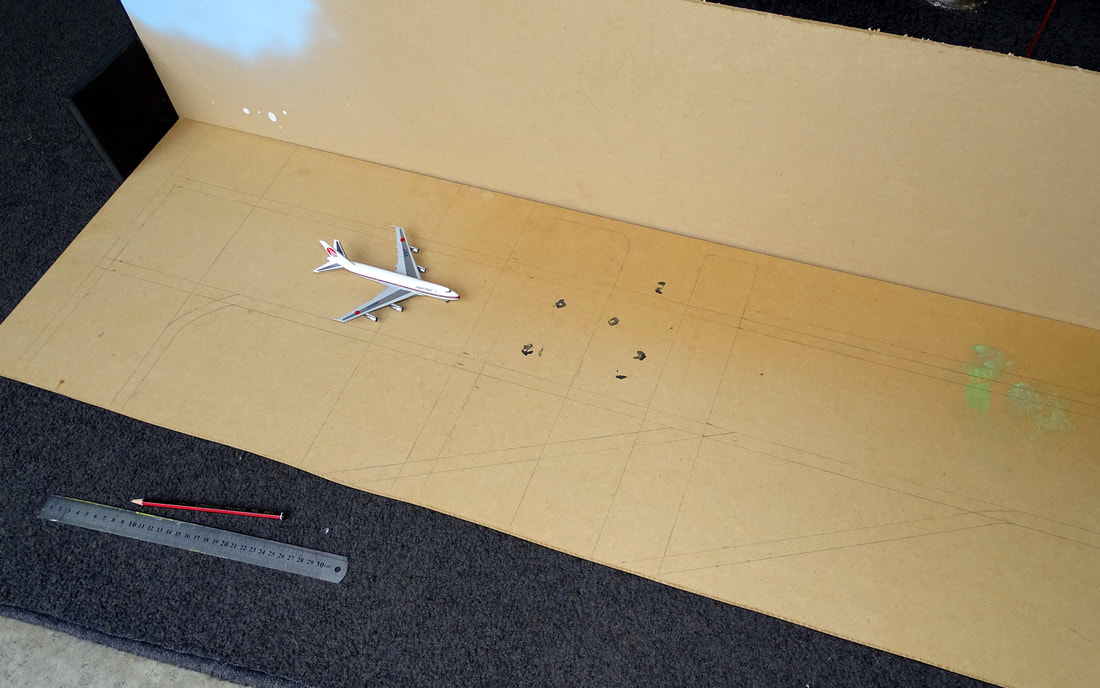
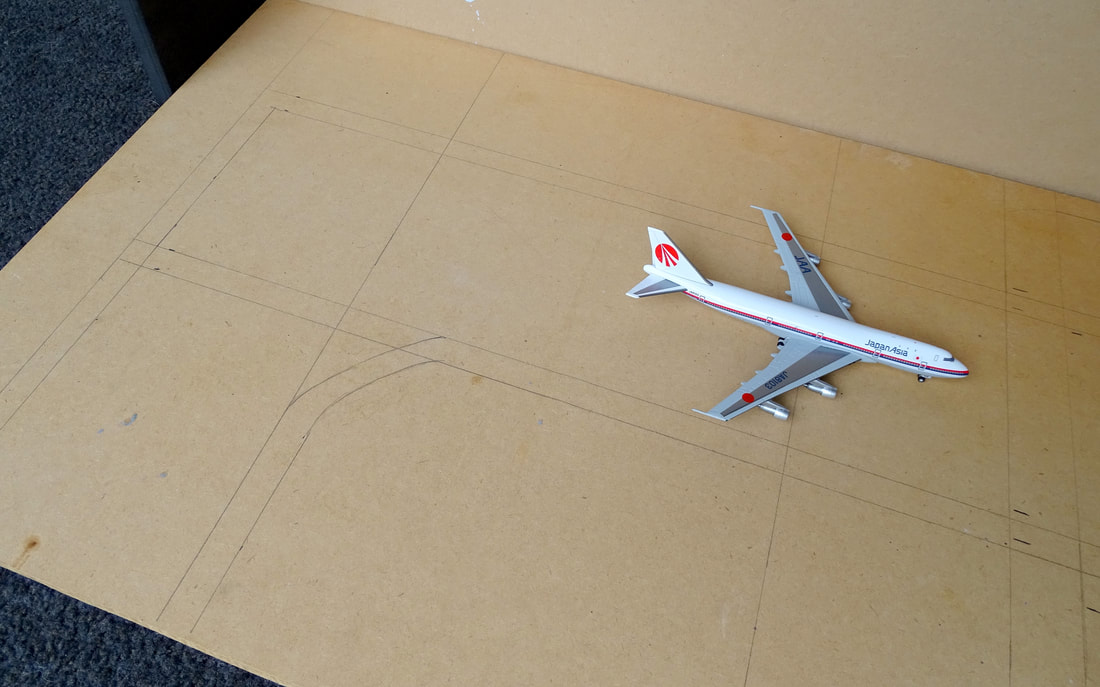
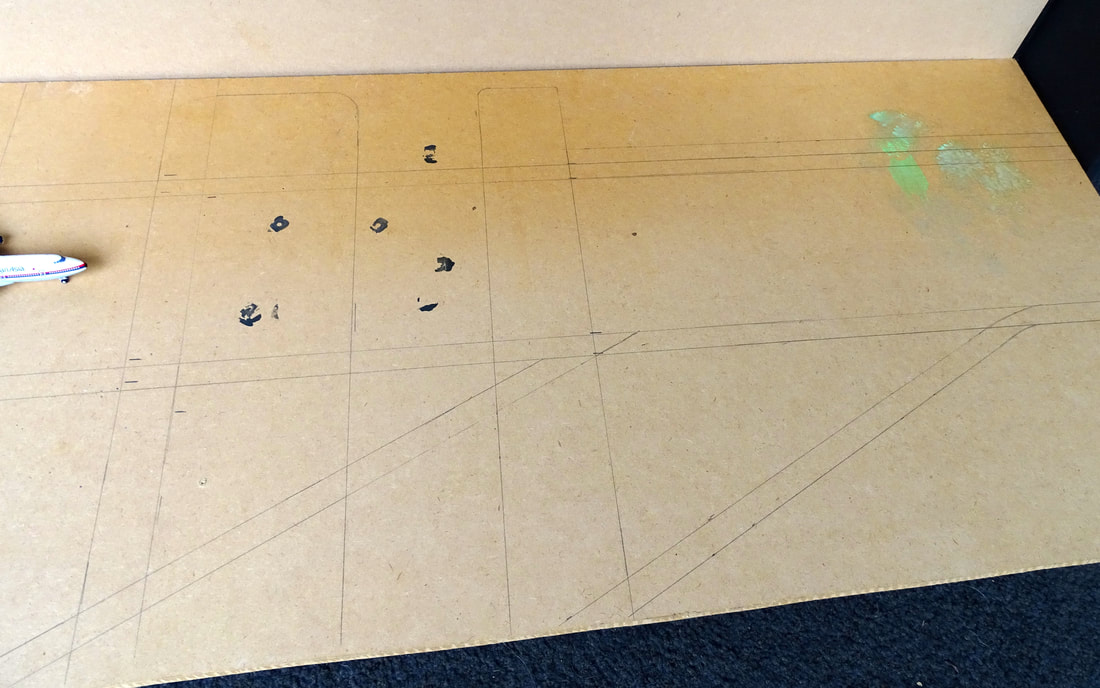
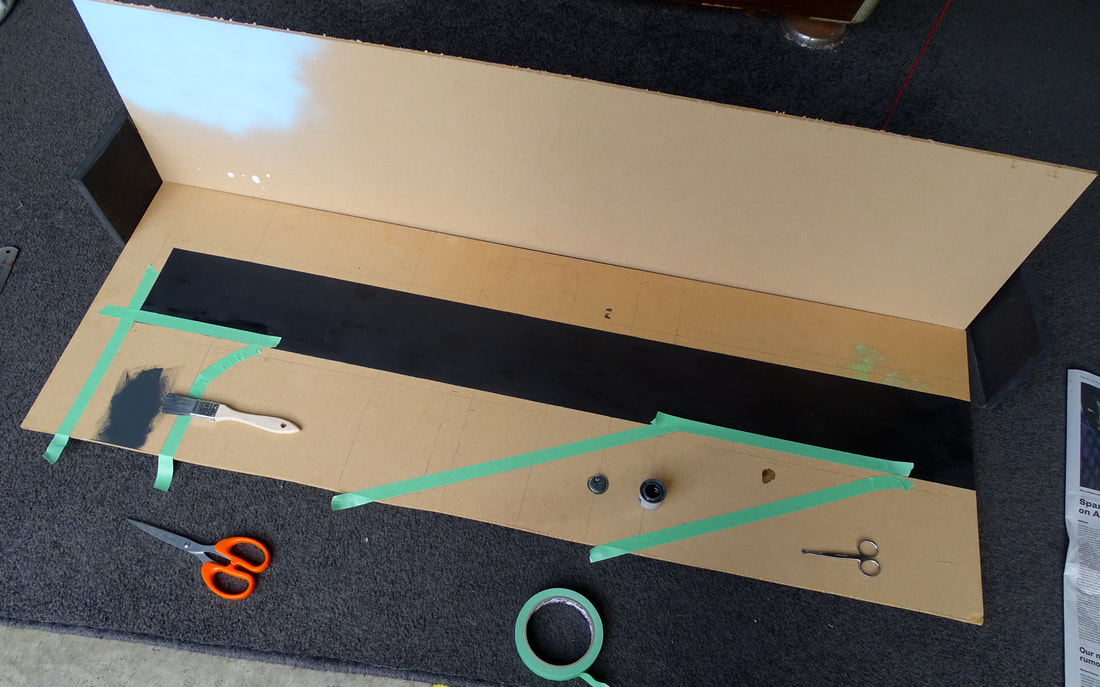
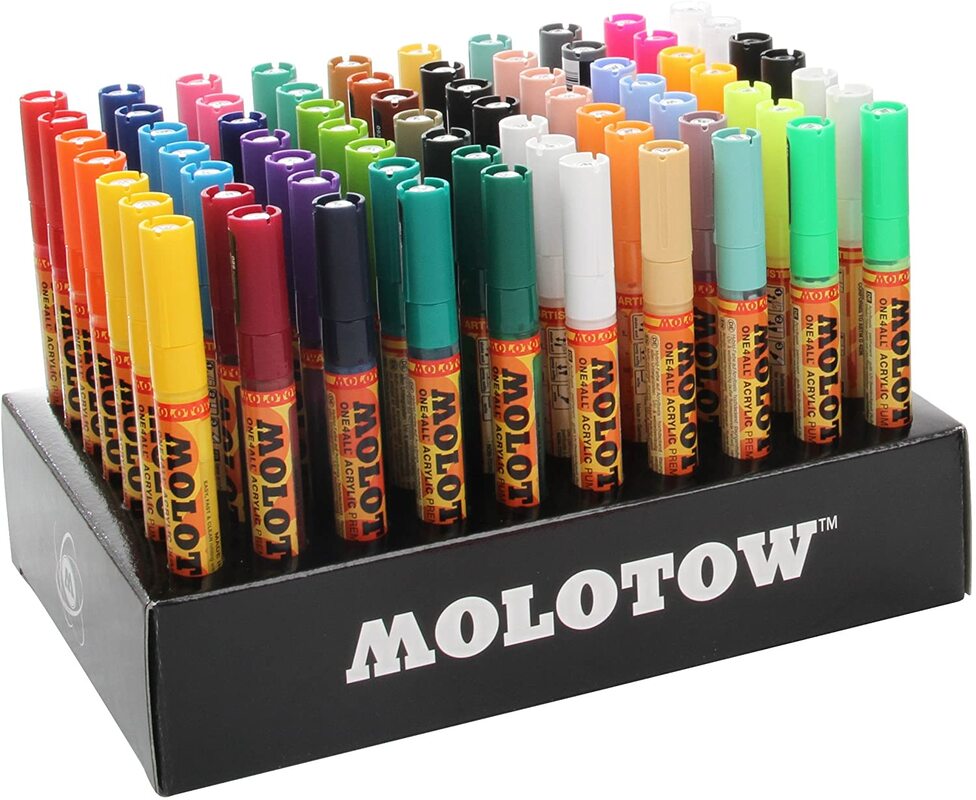
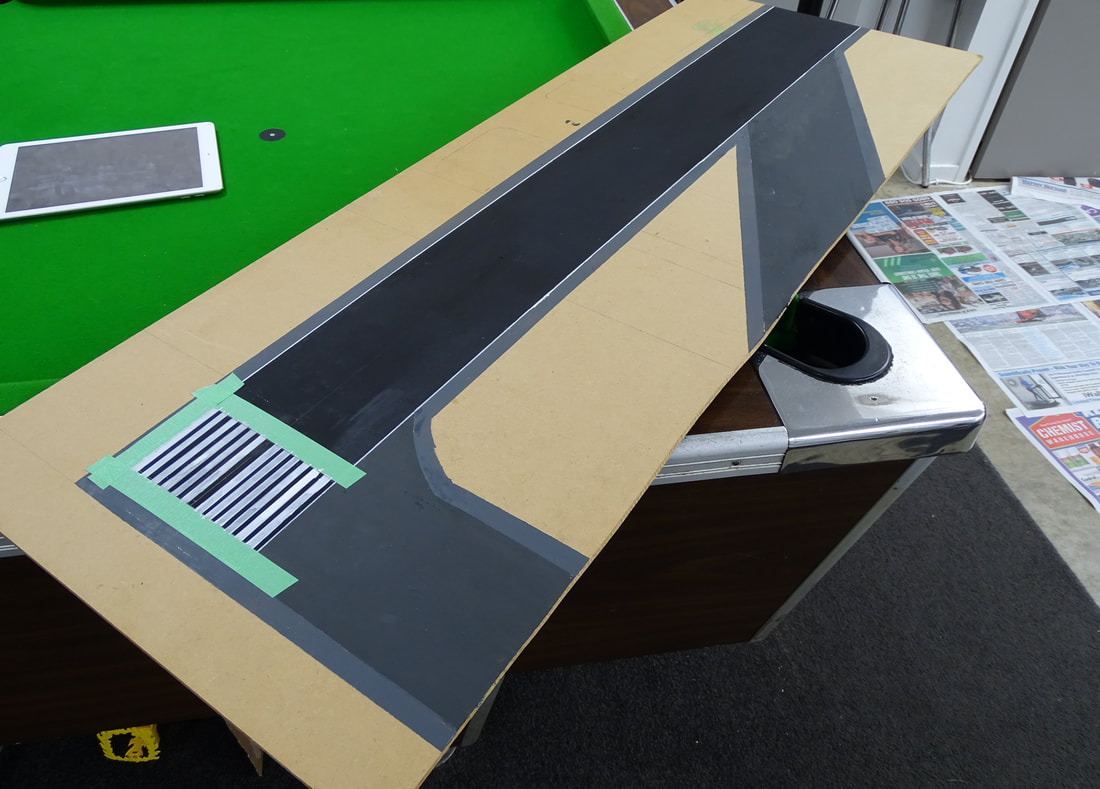
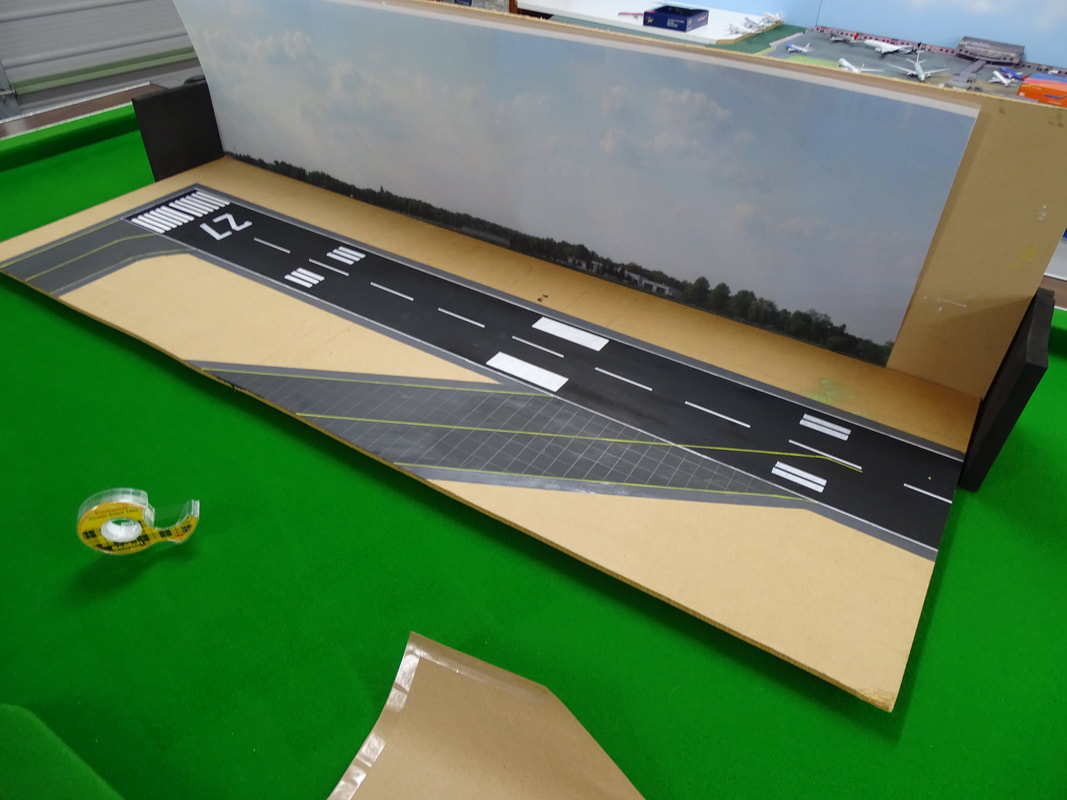
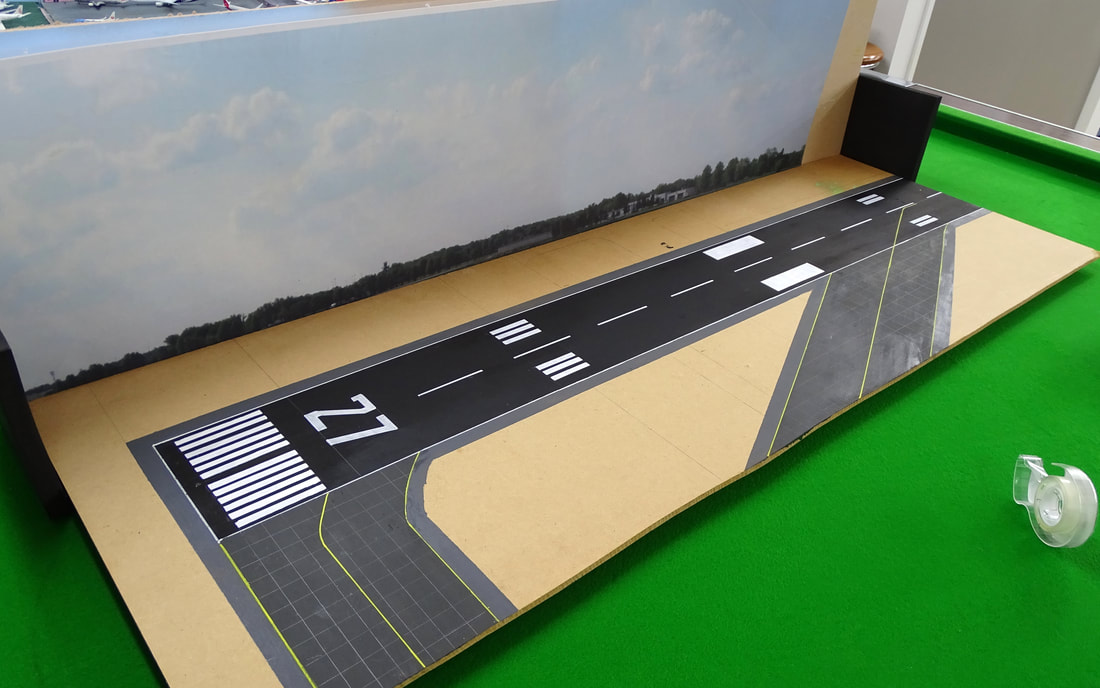
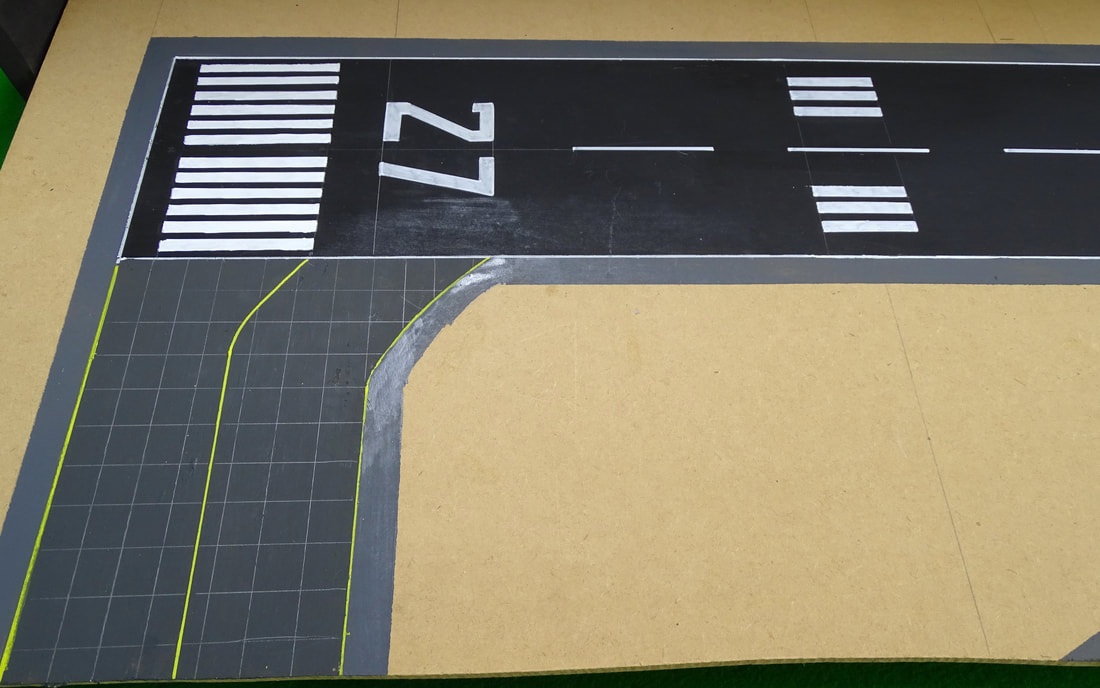
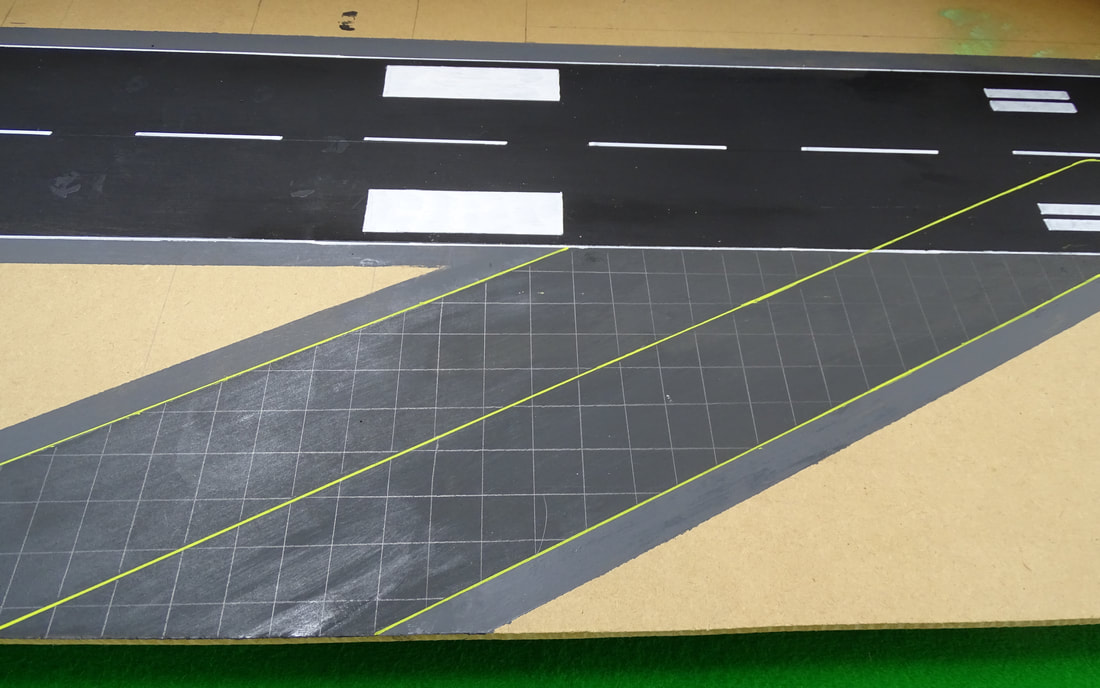
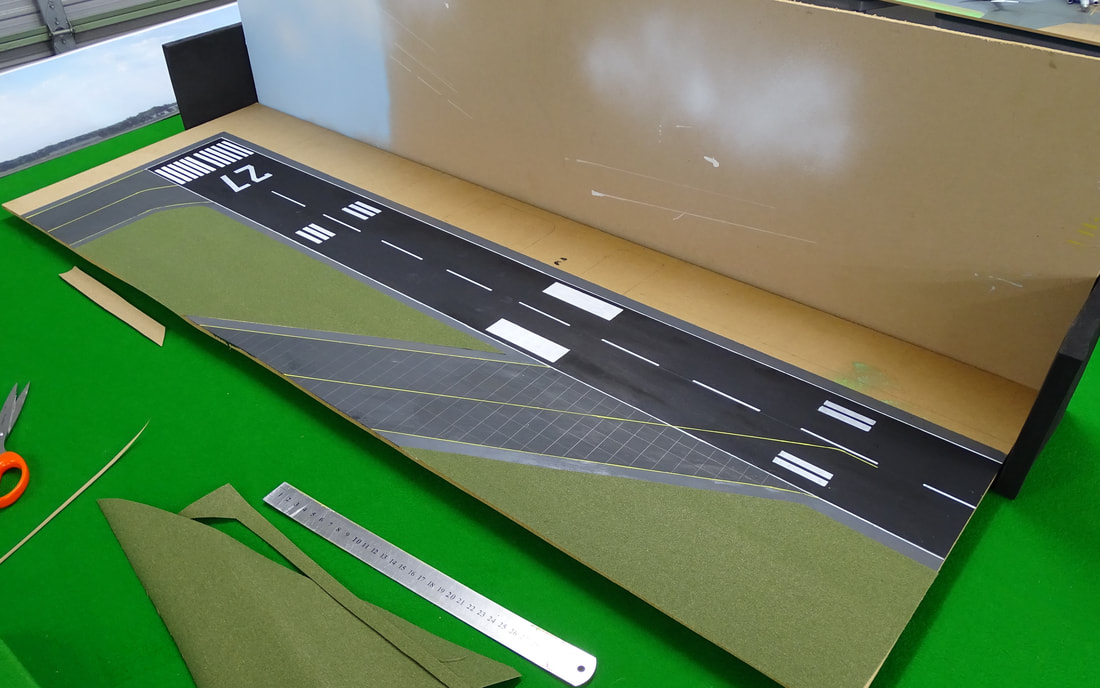
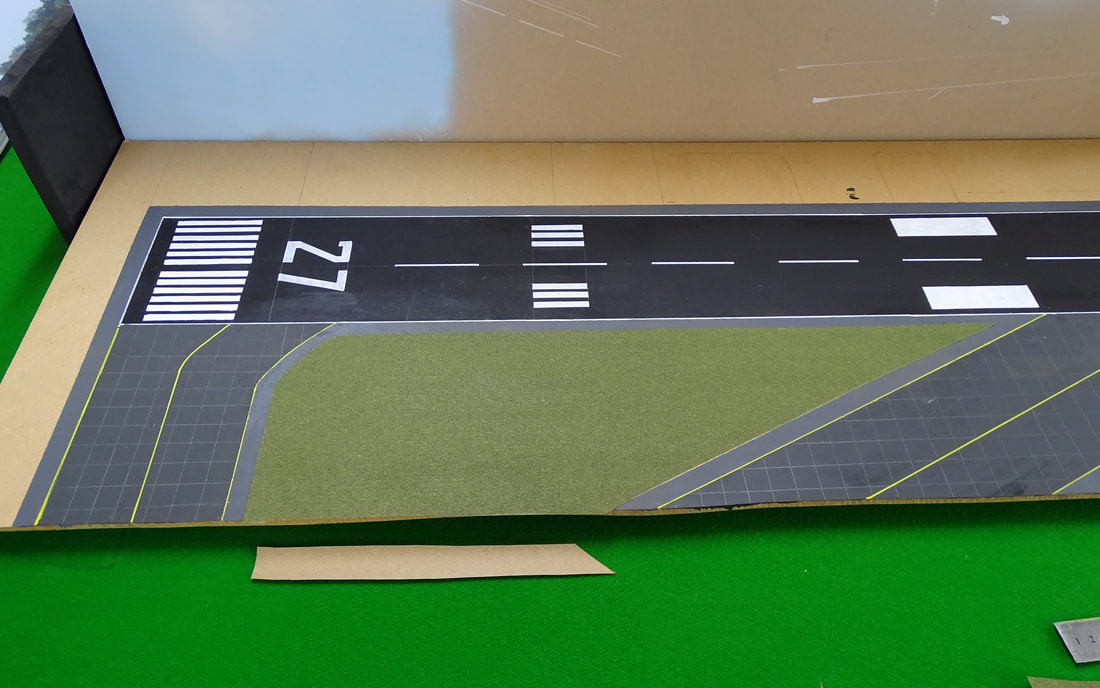
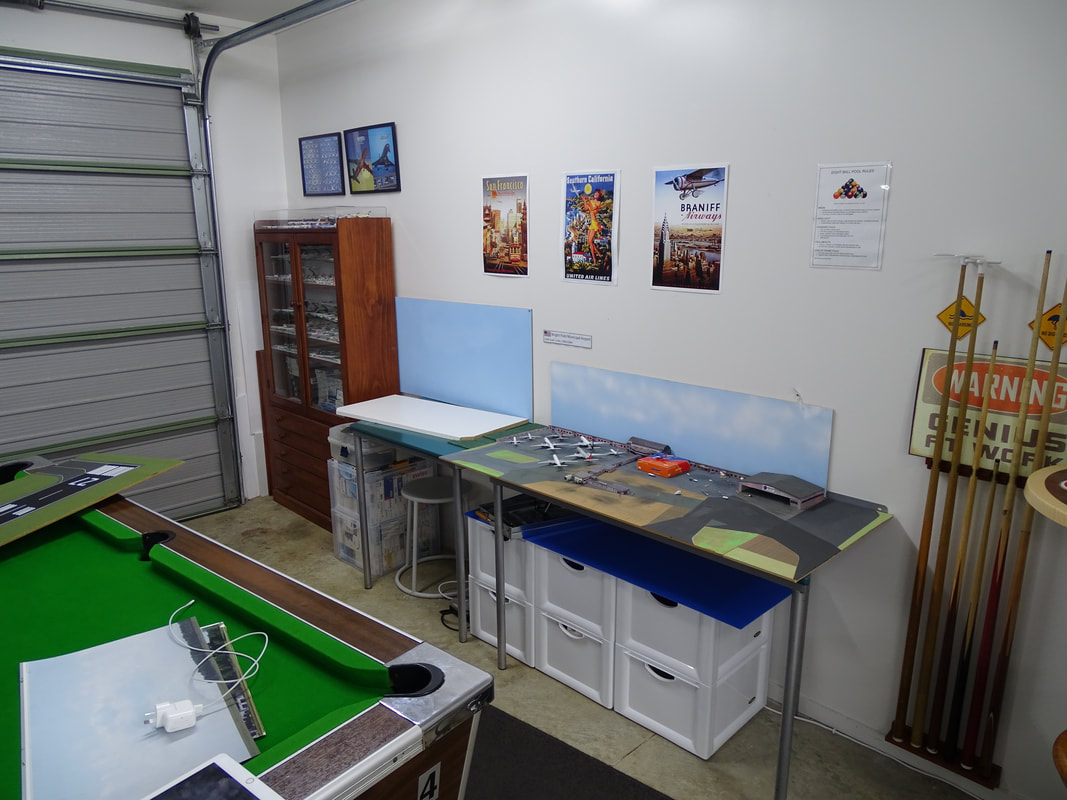
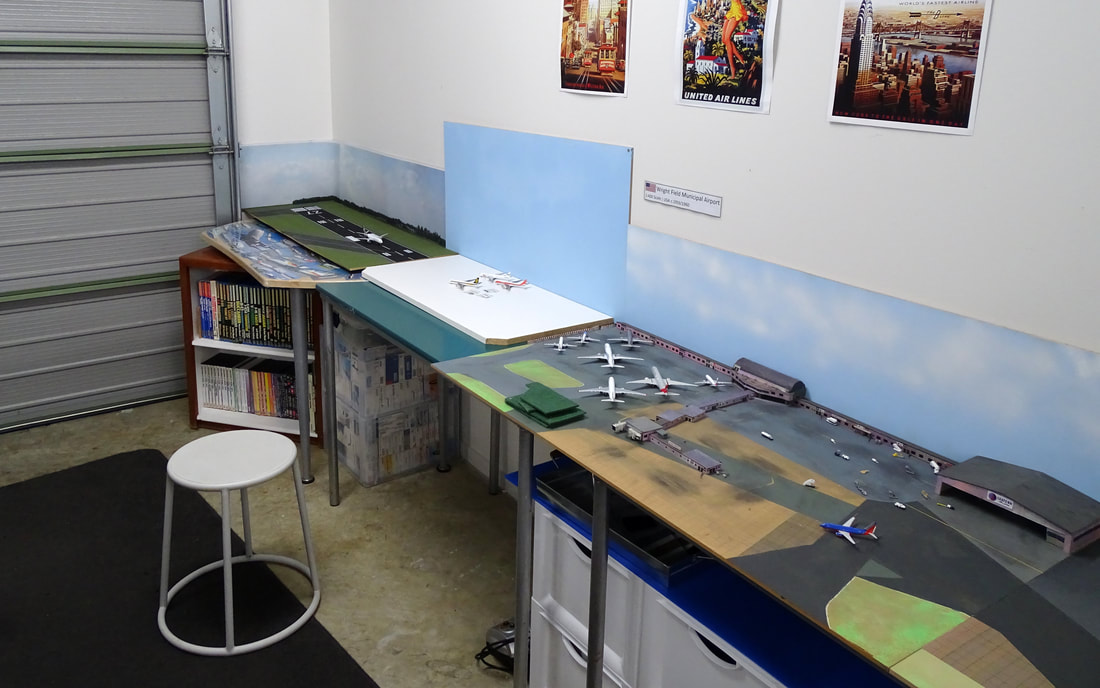
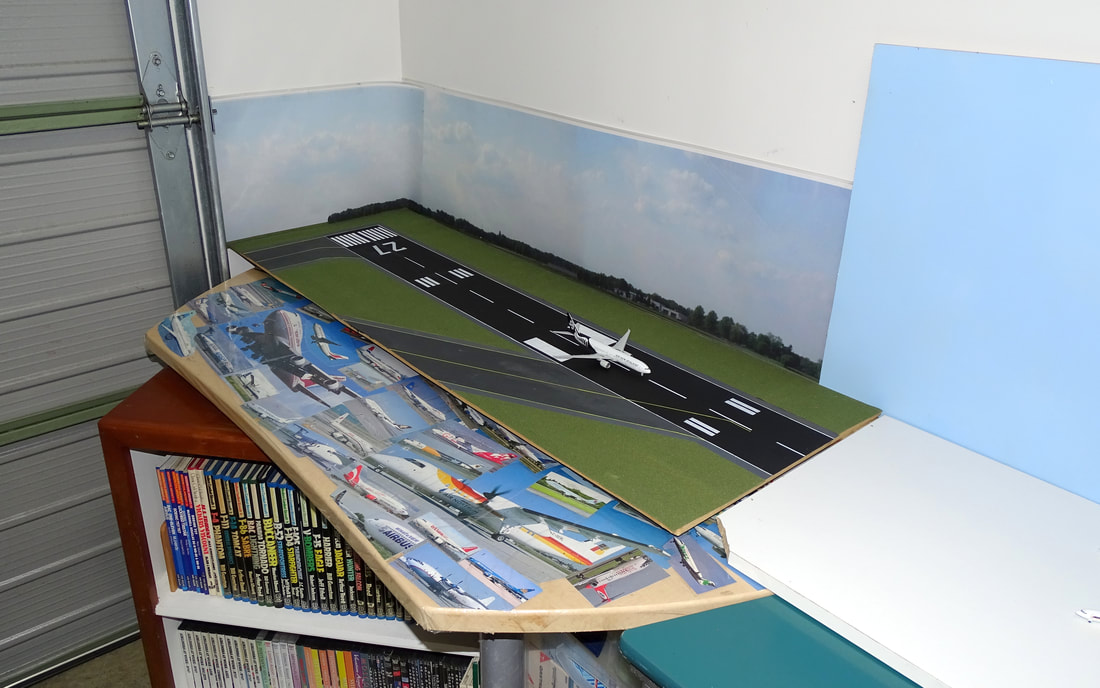
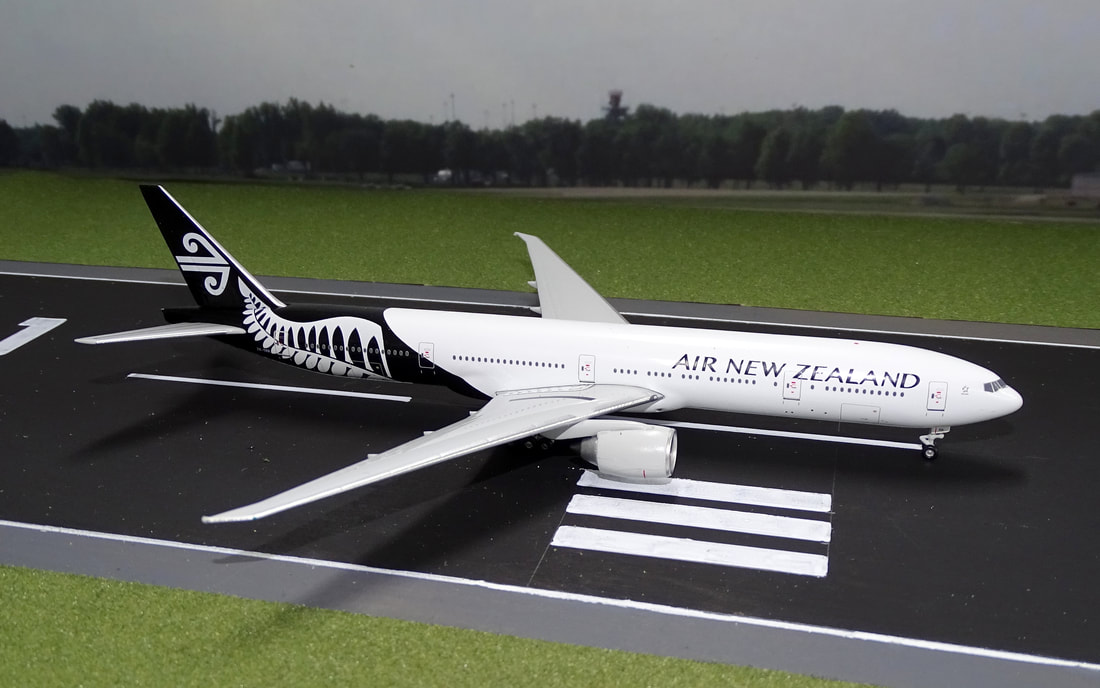
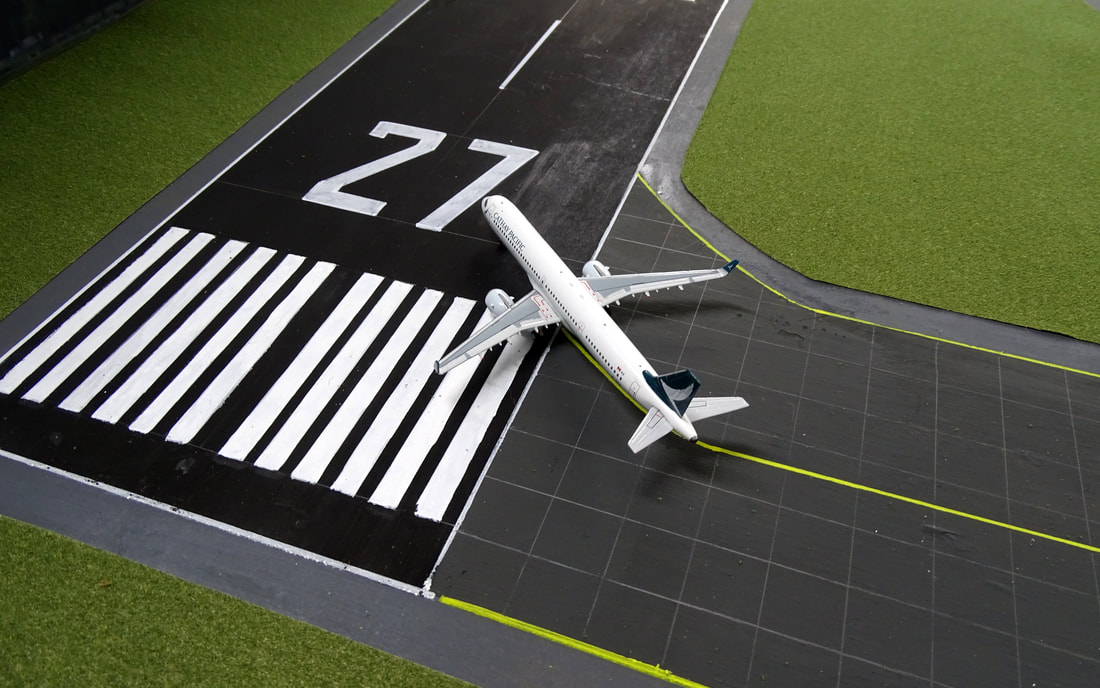
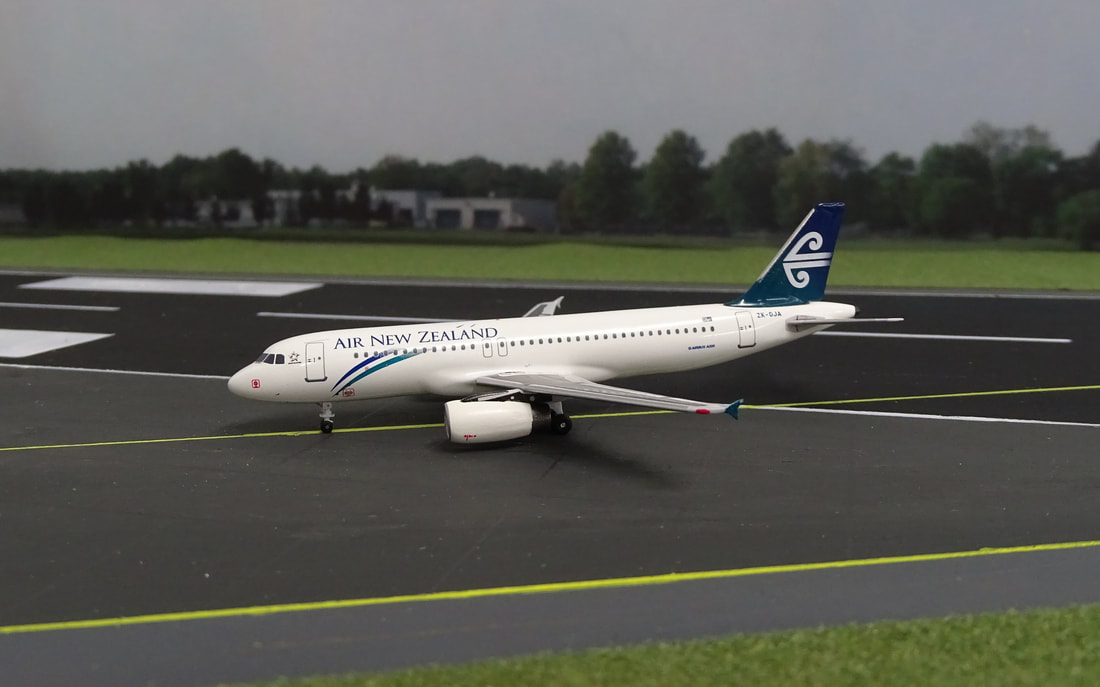
Firstly let me say that this endeavour was inspired by the work of Steinar Arnason who regularly depicts his, mainly Scandinavian, collection with shots of them on runways and taxiways with backdrops. His shots always look great and I thought why not give something similar a try since it looked like it was within my limited skillset. Thanks for the inspiration Steinar. Below is one of Steinar's wonderful shots: Previously I have largely avoided runways on my layouts because they take up a lot of space if they are to be done at all plausibly and you can't display a lot of models on them. However what they do well is not betray the time period of the photo, as long as there aren't terminals in the background anyway. So a small runway diorama can be used to photograph almost any model. I am not especially given to creating my layouts on a computer, not because I have issues with that approach itself but because it requires better photoshop skills than I have and the use of an effective printer. Then there are the issues with attaching the print outs to the base. It all seems like a lot of work when something basically as good can be done with pencil and paint. Therefore my design approach to this diorama is much the same as has been taken with my model airports like Xin Long and Wright Field. I found an old piece of MDF I'd used but discarded previously and which measures about 120x30cm. Onto this I drew the outline of a runway section including the threshold and one exit. The majority of the key measurements for widths and markings can be found online at the FAA Site here: The next step was to start painting, which used the traditional Humbrol Paint No 33 Matt Black for the runway surface and Humbrol Paint No 32 Matt Dark Grey for the taxiway surface: The runway and taxiway edging used Humbrol Paint No 27 Matt Sea Grey. From there paint pens tookover and I have had great results with Molotow Paint Pens, which are inexpensive, easy to use and have replaceable nibs: It was just a case of following the FAA runway marking directives and masking off the spaces. Paint Pens dry really quickly, which is super helpful. Within two days (but only 4 or 5 hours actual time) the runway was painted up: As you can see I used an HB pencil to mark in the concrete block lines on the taxiways: All that now remained was to add grass and find a place to put the diorama so background scenery could be attached. A visit to the local hobbystire secured some railway grass sheet, which with the aid of double sided tape works a treat to represent grass. Previously the back corner of the hangar was used for my Schabak display, photo area and the Wright field diorama, however with a minor reorganisation the Schabak cabinet has been moved and this corner is now the site of the runway setting. BEFORE: AFTER: For the backgrounds I was able to reutilise some old background sheets I had, originally purchased from Airport Diorama Designs - here. The background is a little dark though so I might modify that later. Time willing the plan is now to take more photos using this new backdrop and setting to showcase new models like this: I hope you like the new layout and I also hope it shows you don't need computer skills, or indeed many skills at all, to make a realistic layout for your models. All in all this cost me less than $100 including the paint, paint pens, wood and fake grass. It also was completed in less than 3 days.
4 Comments
David Fidler
3/7/2021 10:51:19 am
Any reason why you chose American FAA specs for the runway markings Richard? Looking at G.Earth image, I think that NZ is using the ICAO standard more widely used around the world.
Reply
Richard Stretton
3/7/2021 09:17:37 pm
Honestly I didn't know there was a difference!
Reply
David Fidler
9/7/2021 11:21:01 pm
It's minor except when your actually flying into a US airport if you're used to ICAO spaces. The FAA has the large white 'splodges' at 1000ft from the threshold (making them the 2nd pair of markings from the end) whereas the rest of the world has them at 1500ft (making them the 3rd pair from the end).
Garry
10/7/2021 12:02:34 pm
I do find it odd why so few brands have even offered or even a specialist brand that has no started up that specializes in runways,display mats at both scales and stands of quality etc.
Reply
Leave a Reply. |
Author
I'm Richard Stretton, an aviation enthusiast and major collector of 400 scale model aircraft. This blog discusses ongoing events in the world of 400 scale. This site is free. Please donate to keep it going.
|
- Home
-
My Models
-
AV History
- Airline History Blog
-
Airline Development
>
-
Liveries
>
- Aeroméxico Liveries
- Air China Special Liveries
- American Airlines Liveries
- British Airways Liveries
- Continental Airlines Liveries
- Delta Air Lines Liveries
- Eastern Air Lines Liveries
- Landor Liveries
- National Airlines Liveries
- Northeast Airlines Liveries
- Northwest Airlines Liveries
- Pan Am Liveries
- Trans World Airlines Liveries
- United Airlines Liveries
- Western Airlines Liveries
- Airbus A380s >
- Boeing 747 >
- Real Airport Histories >
- Plane Spotting >
- Aviation Stickers >
-
1:400 SCALE
- Collecting 1:400 Scale >
- The History of 1:400 Scale >
-
1:400 Brands
>
- Aeroclassics >
- Airshop Diecast
- AURORA Models
- Aviation400 (2007-2012)
- Big Bird 400 Your Craftsman
- Black Box Models
- Blue Box & Magic Models
- C Models
- Dragon Wings
- El Aviador 400
- Gemini Jets >
- JAL Collection / Jet Hut >
- Jet-X >
- MP4 Models
- NG Models >
- Panda Models >
- Phoenix Models >
- Seattle Models Co (SMA)
- Skyjets400
- Sovereign Models
- TucanoLine
- Witty Wings / Apollo
- Yu ModeLs
- 1:400 Custom Models >
- Production Numbers
- Zinc Rot
-
1:400 Moulds
- The Best Moulds >
- Airbus >
-
Boeing
>
- Boeing B-377 Stratocruiser
- Short Boeing 707s & 720s
- Boeing 707-320/420
- Boeing 717
- Boeing 727-100
- Boeing 727-200
- Boeing 737-100/200
- Boeing 737-300 >
- Boeing 737-400
- Boeing 737-500
- Boeing 737-600
- Boeing 737-700/800/900 >
- Boeing 737 MAX
- Boeing 747-100/200 >
- Boeing 747-400 >
- Boeing 747SP
- Boeing 747-8 Interactive
- Boeing 747LCF Dreamlifter
- Boeing 757-200 >
- Boeing 757-300
- Boeing 767-200
- Boeing 767-300
- Boeing 777-200
- Boeing 777-300
- Boeing 787
- British >
- Douglas >
- Lockheed >
- Other >
- Chinese >
- Soviet >
- Smallest Moulds in 1:400
-
1:400 Reviews
-
Model News
- Model Blog
-
New Mould Samples
>
- Aviation400 >
- JC Wings >
-
NG Models 400 Scale
>
- Airbus A318
- Airbus A319/320 CEO
- Airbus A319/320 NEO
- Airbus A321CEO & NEO
- Airbus A330-200/300
- Airbus A330 Beluga XL
- Airbus A330-800/900
- Airbus A340-200/300
- Airbus A350-900
- Airbus A350-1000
- Boeing 737-600/700/900
- Boeing 737-600 Refresh
- Boeing 737-800
- Boeing 737 MAX-8/MAX-9
- Boeing 737 MAX-7/MAX-10
- Boeing 747-100
- Boeing 747-200
- Boeing 747-400
- Boeing B747SP
- Boeing 747-8I
- Boeing 747-8F
- NG 747s Together
- Boeing 757-300
- Boeing 767-200/300 >
- Boeing 767-400 >
- Boeing 777-200
- Boeing 777-300/300ER
- Boeing 787-8
- Lockheed L-1011 Tristar
- Lockeed Tristar 500
- McDonnell Douglas MD-80
- McDonnell Douglas MD-87
- Tupolev Tu-154
- Tupolev Tu-204/Tu-214/Tu-234
- NG Models 200 Scale >
- Phoenix Models >
- Yu ModeL >
-
1:600 SCALE
- DIORAMAS
 RSS Feed